


How To Fix A Leaking Tap
In Sydney, where maintaining a peaceful home life and saving our important water resources are very important, fixing an issue like a leaking tap becomes a significant task.

No Call Out Fees*
Terms & conditions may apply

Always Open 24/7
We’re always close & always open!

How To Fix A Leaking Tap
In Sydney, where maintaining a peaceful home life and saving our important water resources are very important, fixing an issue like a leaking tap becomes a significant task.
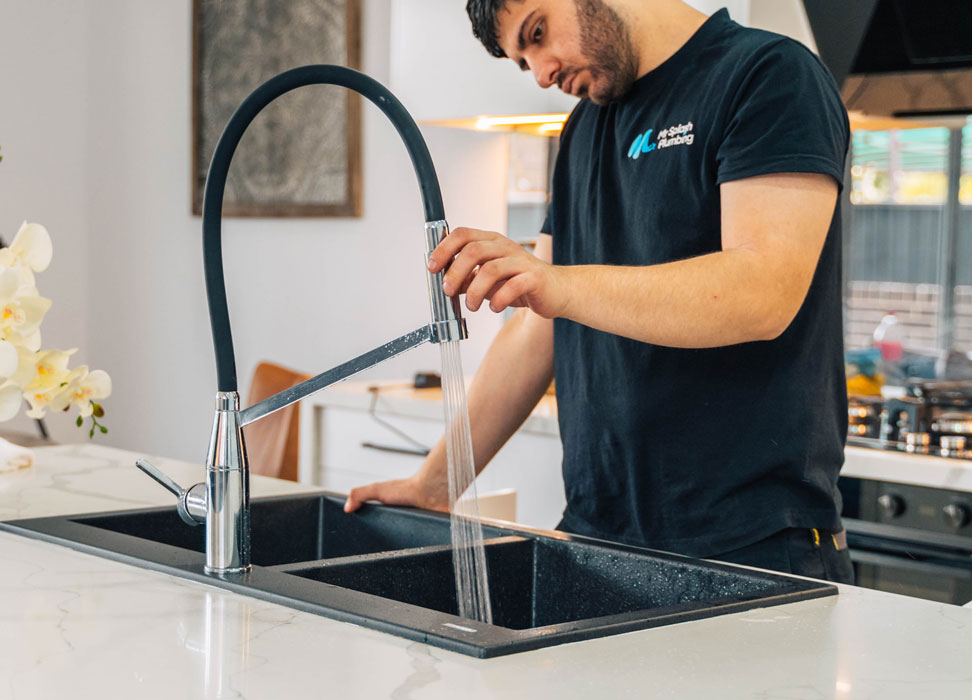
A leaking tap is not just a minor annoyance, but a subtle sign of potential wastage and inefficiency in plumbing systems. Recognising this our expert team of plumbers in Sydney offers a thorough and insightful guide, to help residents with the knowledge and skills needed to diagnose and effectively resolve leaky tap issues.
This guide, based on professional expertise and a deep understanding of common household plumbing challenges, offers a step-by-step approach to addressing what many regard as a small problem but, in reality, is a vital aspect of maintaining a sustainable and well-functioning home.

What Causes a Leaking Tap?
Understanding why a tap leak is the first step in rectifying the issue:
- Worn-Out Washers: Worn-out washers often serve as the primary cause of tap leaks. Due to constant pressure and exposure to water over time, these washers degrade, compromising the seal of the tap and leading to a steady drip or leak.
- Tap Leaking from Spindle (related to Washers): One specific area where such leaks often manifest is the spindle. Here, the degradation of washers can lead to leaks, necessitating careful inspection and replacement of these components specifically within the spindle area.
- Damaged O-rings: Separately, damaged O-rings, which are crucial components located in the spindle of the tap, contribute to leaks as well. When these O-rings harden or lose their elasticity, they fail to effectively seal, leading to leaks, especially around the tap's handle.
- Corroded Valve Seat: The valve seat, forming a connection with the tap, can corrode over time. This corrosion can disrupt the seal integrity, causing water to seep through and result in a bathroom tap leaking.
- Improper Washer Installation: If washers are not correctly fitted or are the wrong size, they can fail to form a proper seal, leading to leaks. It's crucial to properly align washers and ensure they have the appropriate dimensions for the tap.
- Elevated Water Pressure: High water pressure can put extra stress on plumbing fixtures, including taps, leading to occasional leaks. This pressure can cause rapid damage to the tap's internal components, accelerating the onset of leaks.
Step-by-Step Guide to Repairing a Leaking Tap
Embarking on the task of repairing a leaking tap can seem daunting, but with the right tools and a methodical approach, it is a manageable and rewarding DIY project. These steps will clearly and concisely guide you through the process, ensuring you can tackle the issue with confidence.
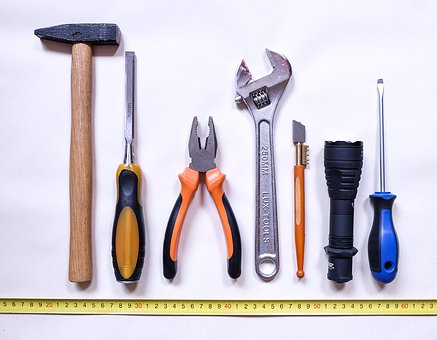
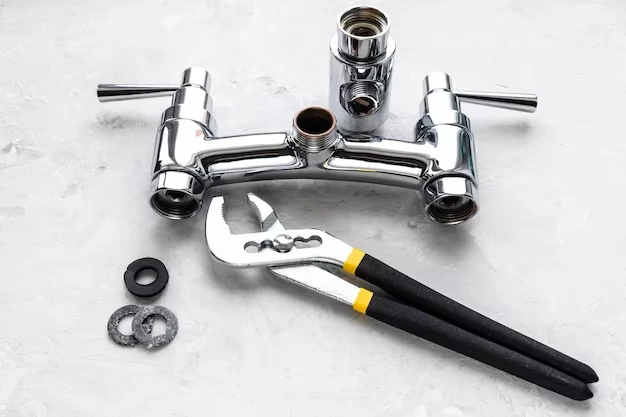
Enhanced Essential Tools:
- Adjustable wrench: For adjusting tap components.
- Screwdriver set: Varied types for different screws.
- Replacement washers and O-rings: For replacing old parts.
- Protective cloth: To protect the sink and catch small parts.
- Plumbing tape: For thread sealing.
- Lubricant (e.g., WD-40): To ease the disassembly of stiff parts.
- Flashlight or headlamp: For better visibility.
- Allen keys/hex keys: For taps with hex screws.
- Multi-grip pliers: For hard-to-reach areas.
- Cartridge puller: Necessary for cartridge taps.
- Valve seat wrench: For valve seat adjustment.
- Basin wrench: For nuts under the sink.
Tools for Detecting Leaks
Once the plumbing professional determines the nature of the leak, he will then identify the location of the leak. The emergency plumber Sydney will use several different tools for water leak detection, which includes:
- Sonic leak detection devices
- Video cameras
- Ground microphones

Preparation
Gather Tools: Before the repair, it's crucial to have all the required tools at hand. This not only streamlines the repair process but also prevents any interruptions due to missing equipment. Having the right tools ready will effectively address each part of the tap mechanism and make the repair smoother and more efficient.
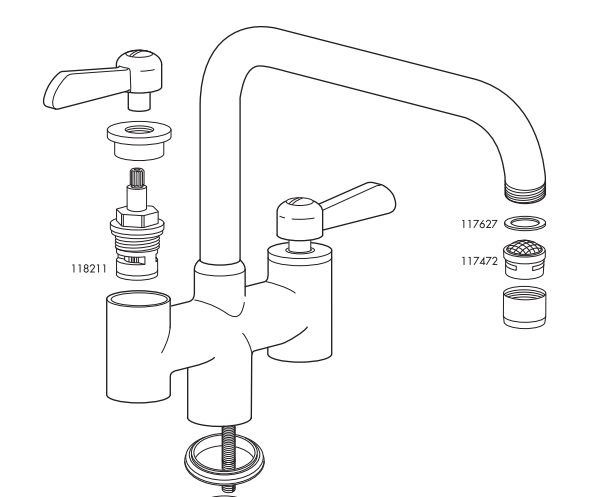
Identify the Tap Type and Disassembly
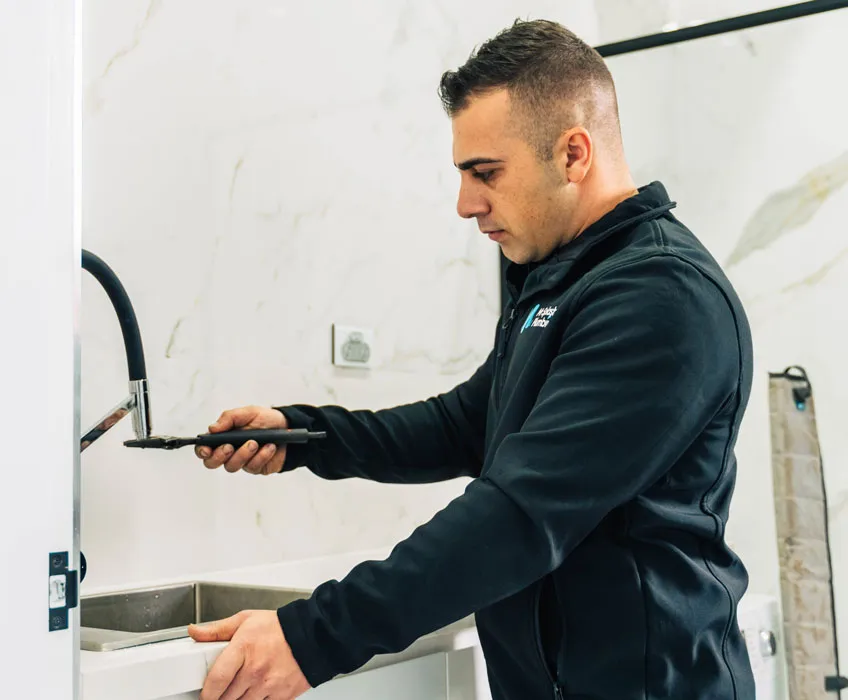
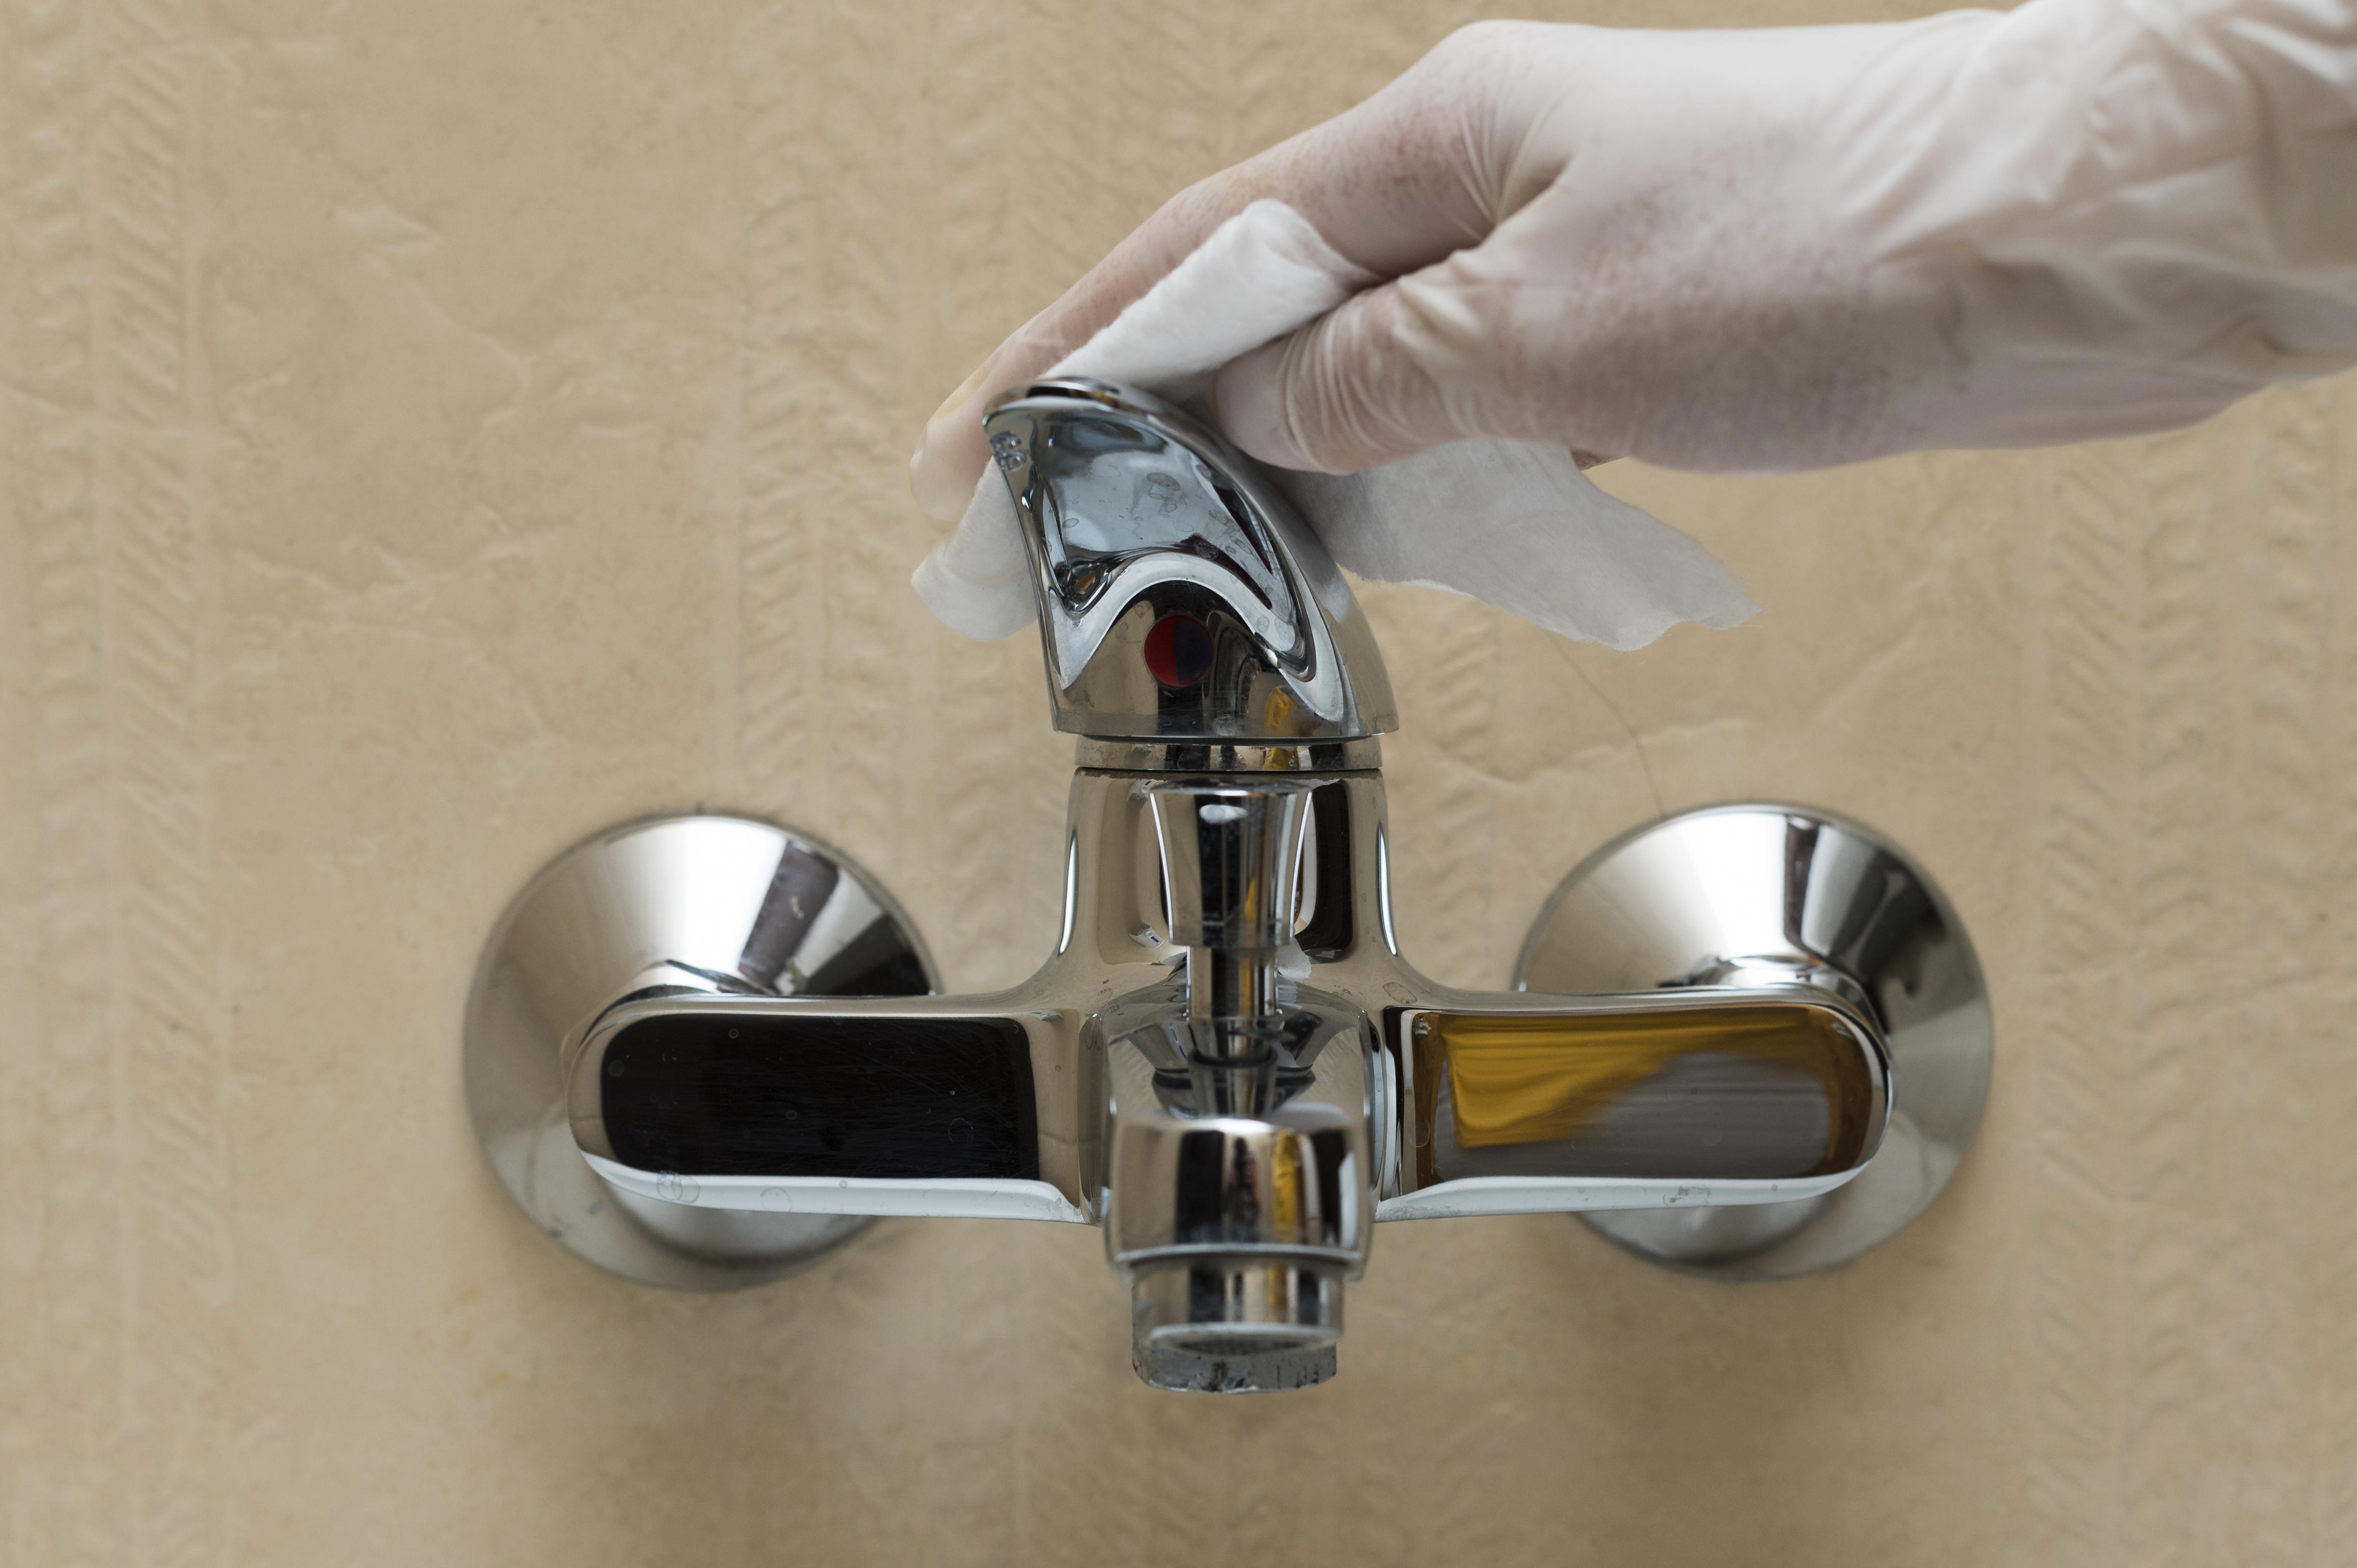
Identifying the Tap Type: Determine whether your tap is a traditional washer type or a cartridge type, as the repair process will vary slightly. Turn off the primary source of water before starting. Disassemble the Tap: Use the appropriate screwdriver or Allen key to remove the tap’s handle. If parts are stiff, apply some lubricant to ease the process. Use the adjustable wrench or basin wrench to loosen and remove any components holding the tap body together.
Inspect and Replace Faulty Parts
Inspect Internal Components: Once open, inspect the washer, O-ring, and valve seat. Use the flashlight or headlamp for better visibility in dark or confined spaces. While inspecting, pay special attention if you have a tap leaking from the spindle. These issues often involve specific components that might require close examination and targeted replacement. Replace Damaged Components: For leaking tap repairs, ensure the correct type and size of washer or O-ring is used for replacement. If the tap is a cartridge type, use the cartridge puller to remove the old cartridge and replace it with a new one.
Reassembling the Tap
Reassemble the Tap: Carefully reassemble the tap, ensuring all parts are aligned correctly. If your tap has a threaded spindle, wrap plumbing tape around it before reassembling it to ensure a watertight seal. Secure Components: Tighten all nuts and components securely using the adjustable wrench or basin wrench. Avoid over-tightening as this can damage the new components. Once the tap is reassembled, turn the main water supply back on.
Testing
Check for Leaks: Turn the tap on and off several times, checking for leaks. Ensure the handle operates smoothly and that there is no water leaking from any part of the tap.
Final Check and Cleanup
Double-check all Components: Ensure everything is tight and secure. Use the multi-grip pliers for any hard-to-reach areas if needed. Cleanup: Remove the protective cloth from the sink and clean up any debris or tools. Store your tools properly for future use.
Dealing with a Specific Issue
In the case of a hot water tap leaking, exercise caution due to the high temperatures, and consider inspecting the water heater for underlying issues. Such leaks may not only signify problems with the tap's spindle but could also indicate malfunctions in the water heating system.
A thorough examination and appropriate repairs aim to ensure the seamless functionality of both the hot water tap and the associated heating system, restoring their efficiency and reliability.
To summarise
Repairing a leaking tap is a valuable skill that not only contributes to water conservation and financial savings but also enhances the efficiency and longevity of your home plumbing. This guide aims to help homeowners confidently tackle repairs by showing them how to fix a dripping tap.
Moreover, for residents in Sydney seeking professional plumbing services, including solutions for shower sink tap leaks or advanced plumbers dye testing leak detection, Mr Splash Plumbing is here to assist. Promptly fixing leaks saves water, reduces costs, and prevents minor issues from becoming major emergencies. For expert plumbing services, contact Mr Splash Plumbing at 1300 677 752.